
Product Help
How to Upload a Lead List to Ora (CSV)
Before you start
Make sure you have:
- Access to Ora
- A clean lead list (CSV or Salesforce report)
🎥 Watch: How to Import Leads (1 min)
This video walks you through importing your lead list via CSV
Step 1: Choose your lead source
From the Ora homepage, you’ll see two options:
- Import CSV file (quick and flexible)
- Import via Salesforce (ideal for RevOps teams or SEP workflows)
- If you opt for SFDC, please move to this article for more detailed instructions. 🔗 see Salesforce setup requirements

If you're uploading a CSV, it must include a column titled Email. But there are some optional fields like:
- First name
- Last name
- Job title
- Company
For tips on building a lead list, click here. (example list included)
Step 2: Click "Complete Import Leads"
Once your file is uploaded, click Complete Import Leads to begin processing.
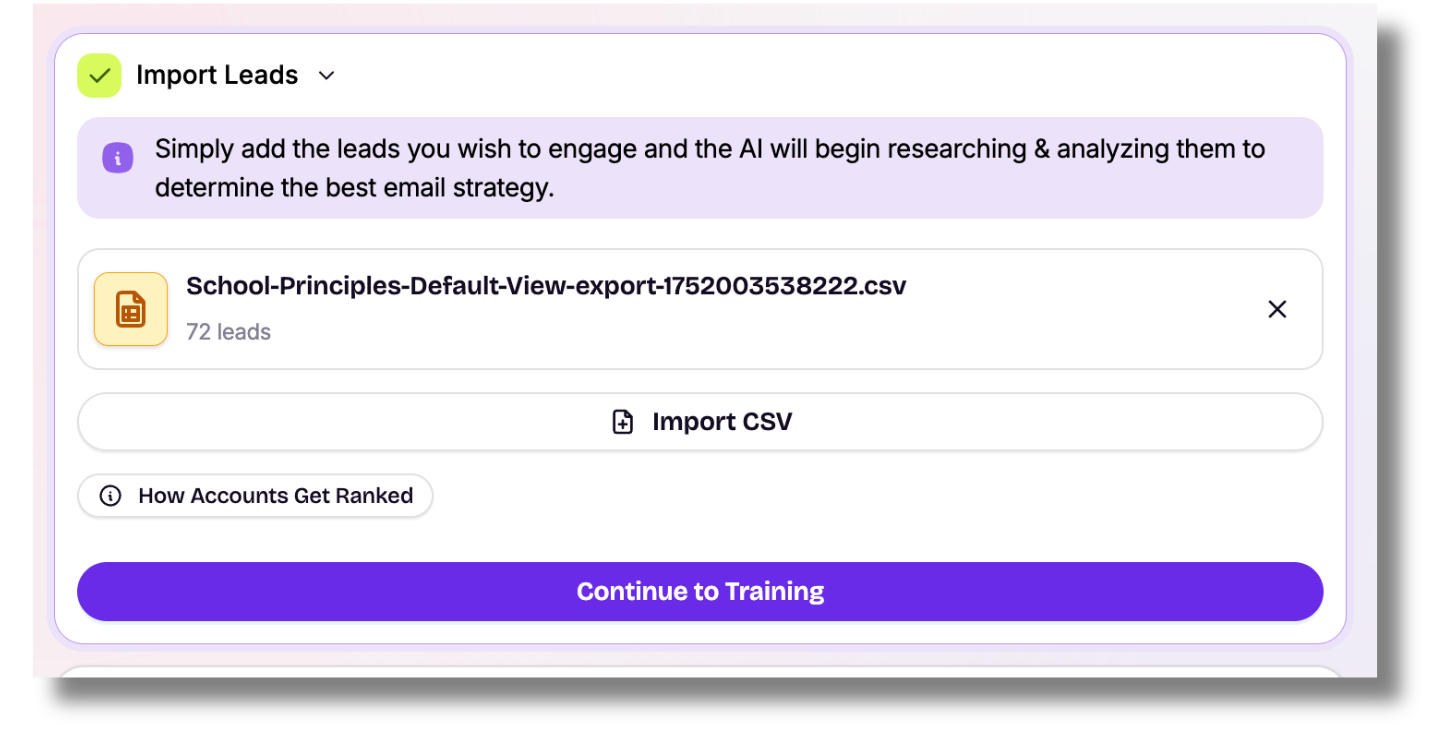
You can import multiple CSVs, we will combine them behind the scenes.
Step 3: Click "Continue to Training"
This takes you into the next phase: training Ora on your company.
You’ll define your audience, value props, and more in this step.
Troubleshooting tips
Lead list not uploading?
- Make sure your file is saved as
.csv - Double-check that the email address column is labeled exactly as Email
- Avoid merged cells, blank rows, or special formatting
No leads processed?
- Review your campaign targeting
- Make sure your lead list aligns with the roles and departments set during training