How to Preview and Launch a Campaign in Ora
Step 1: Open the campaign preview
Once you've uploaded leads and trained your agent, click "Preview Email Sequence"

Ora will run research and generate personalized messages for each lead. This may take a minute.
Step 2: Click each lead to review messages
Click the lead’s email address to view message options. Scroll to see the full previews.
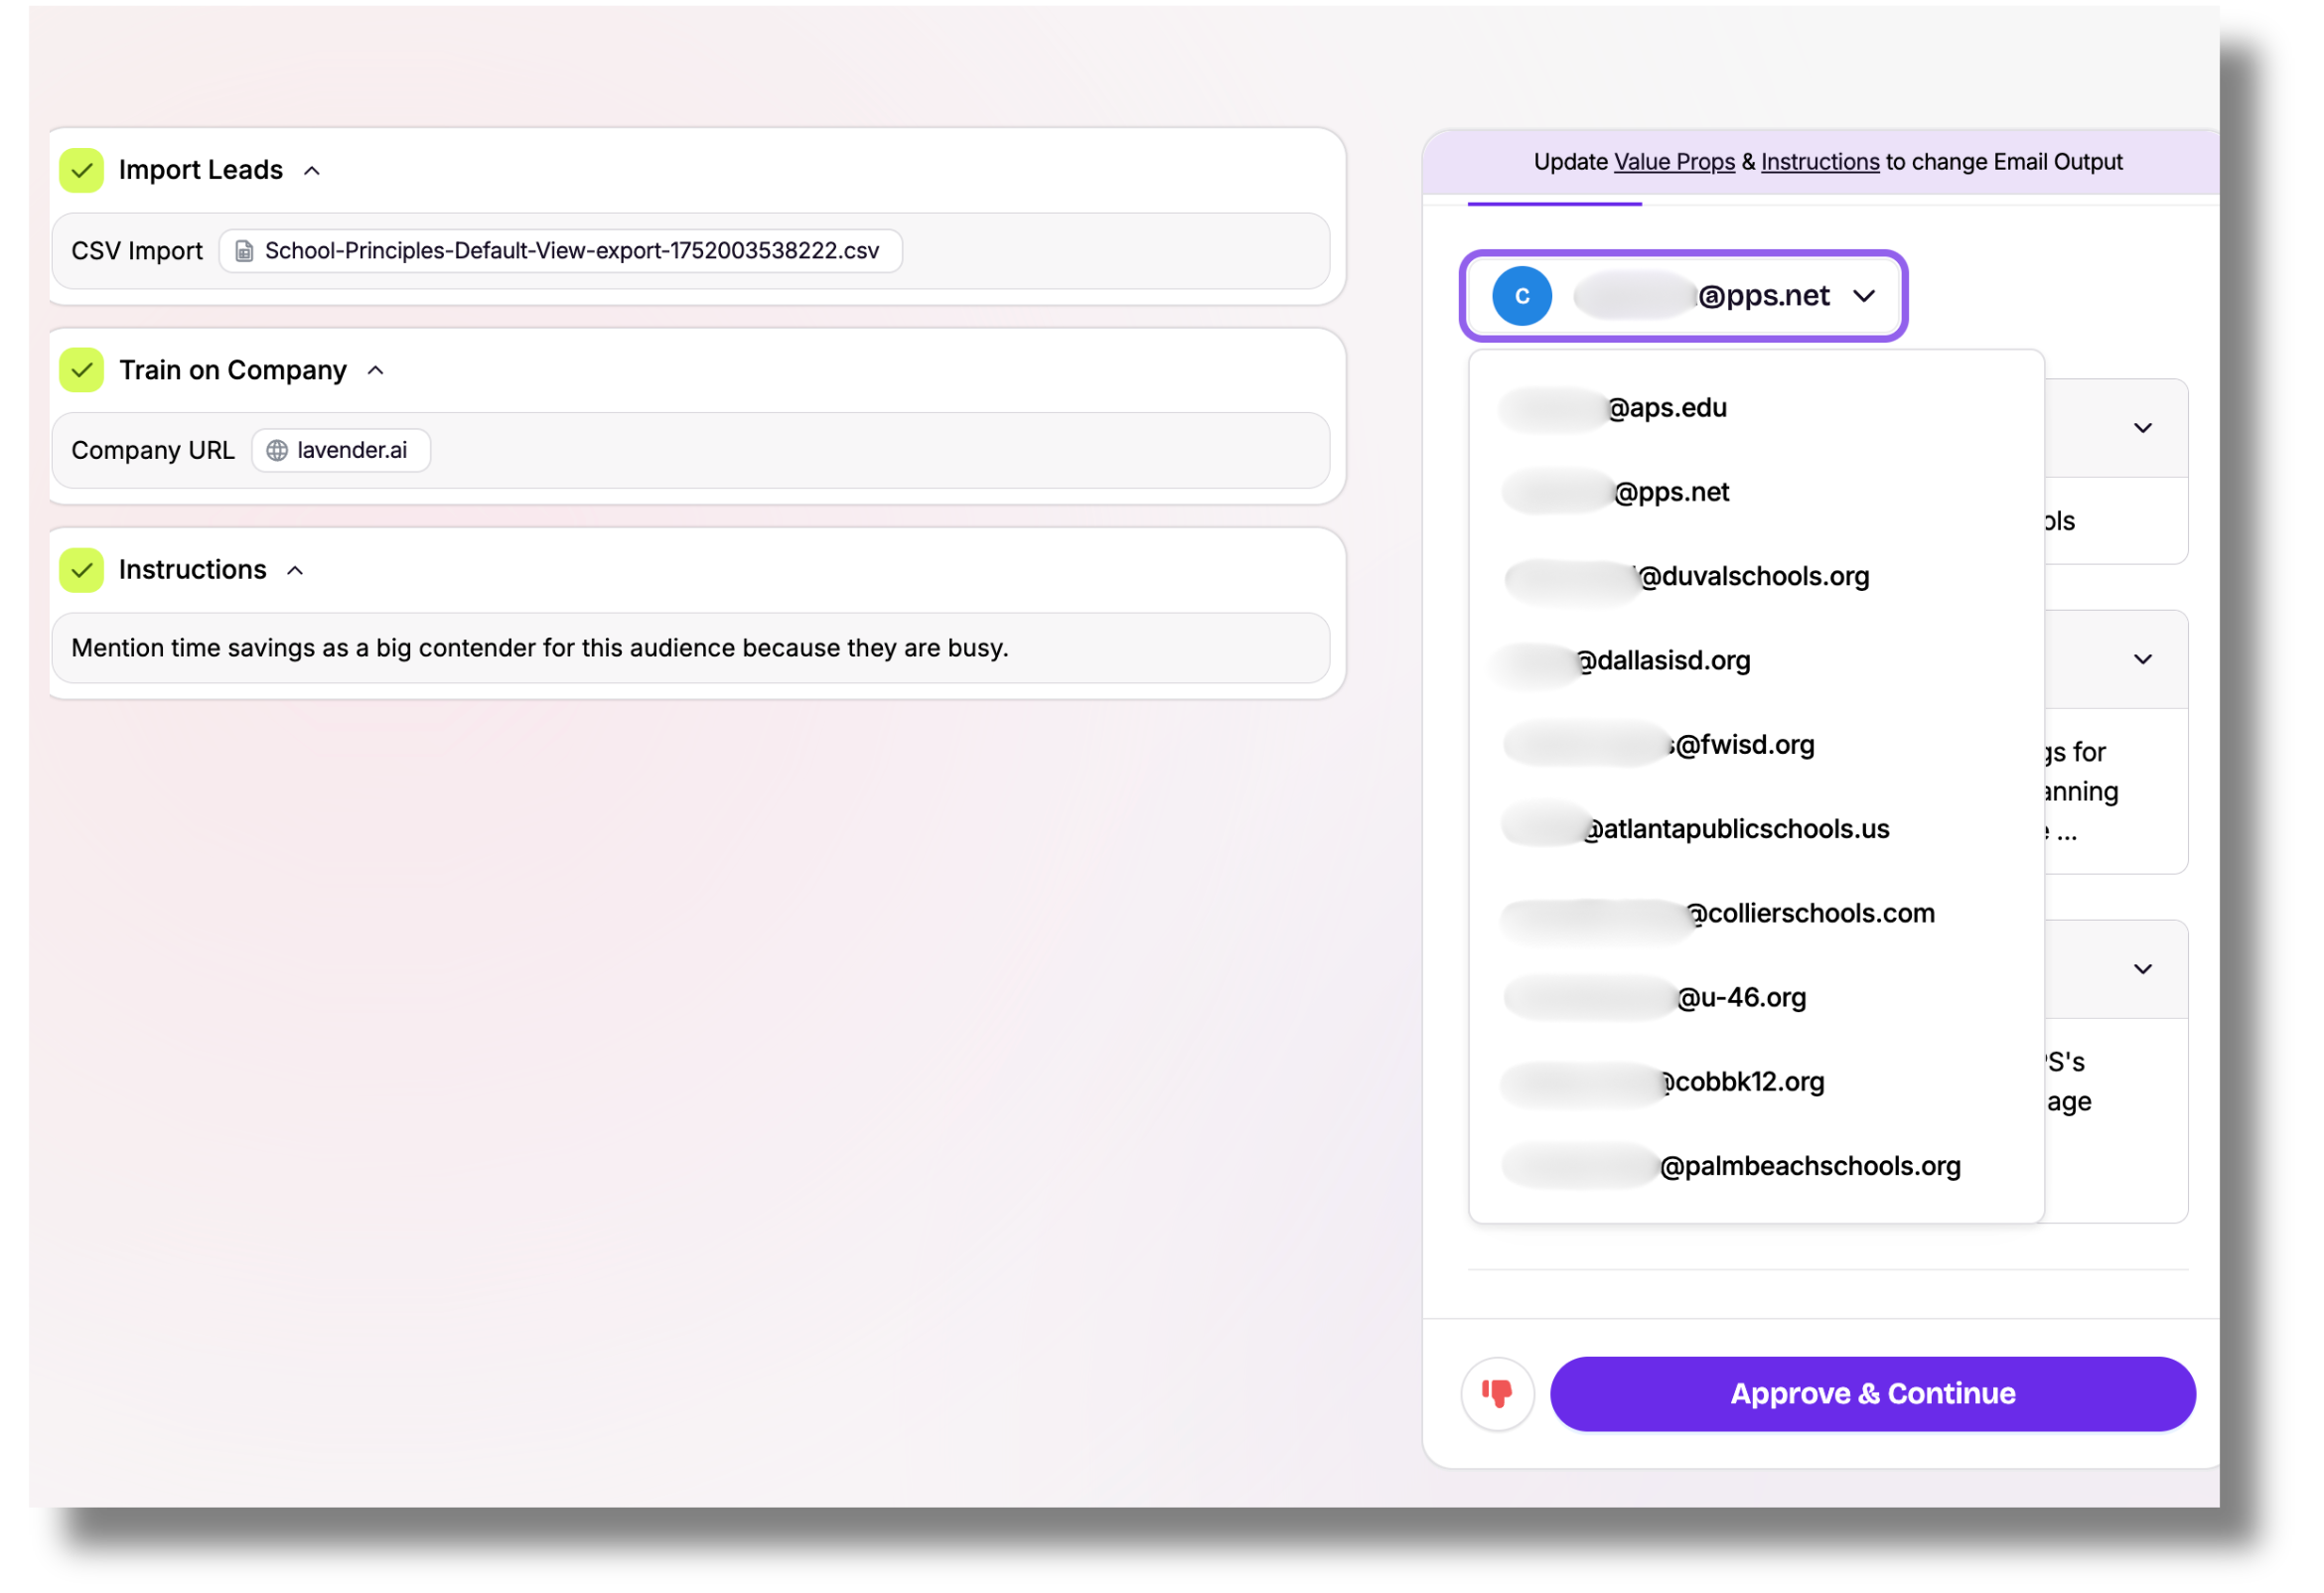
These examples show how Ora tests different combinations of your inputs (value props, instructions, and research).
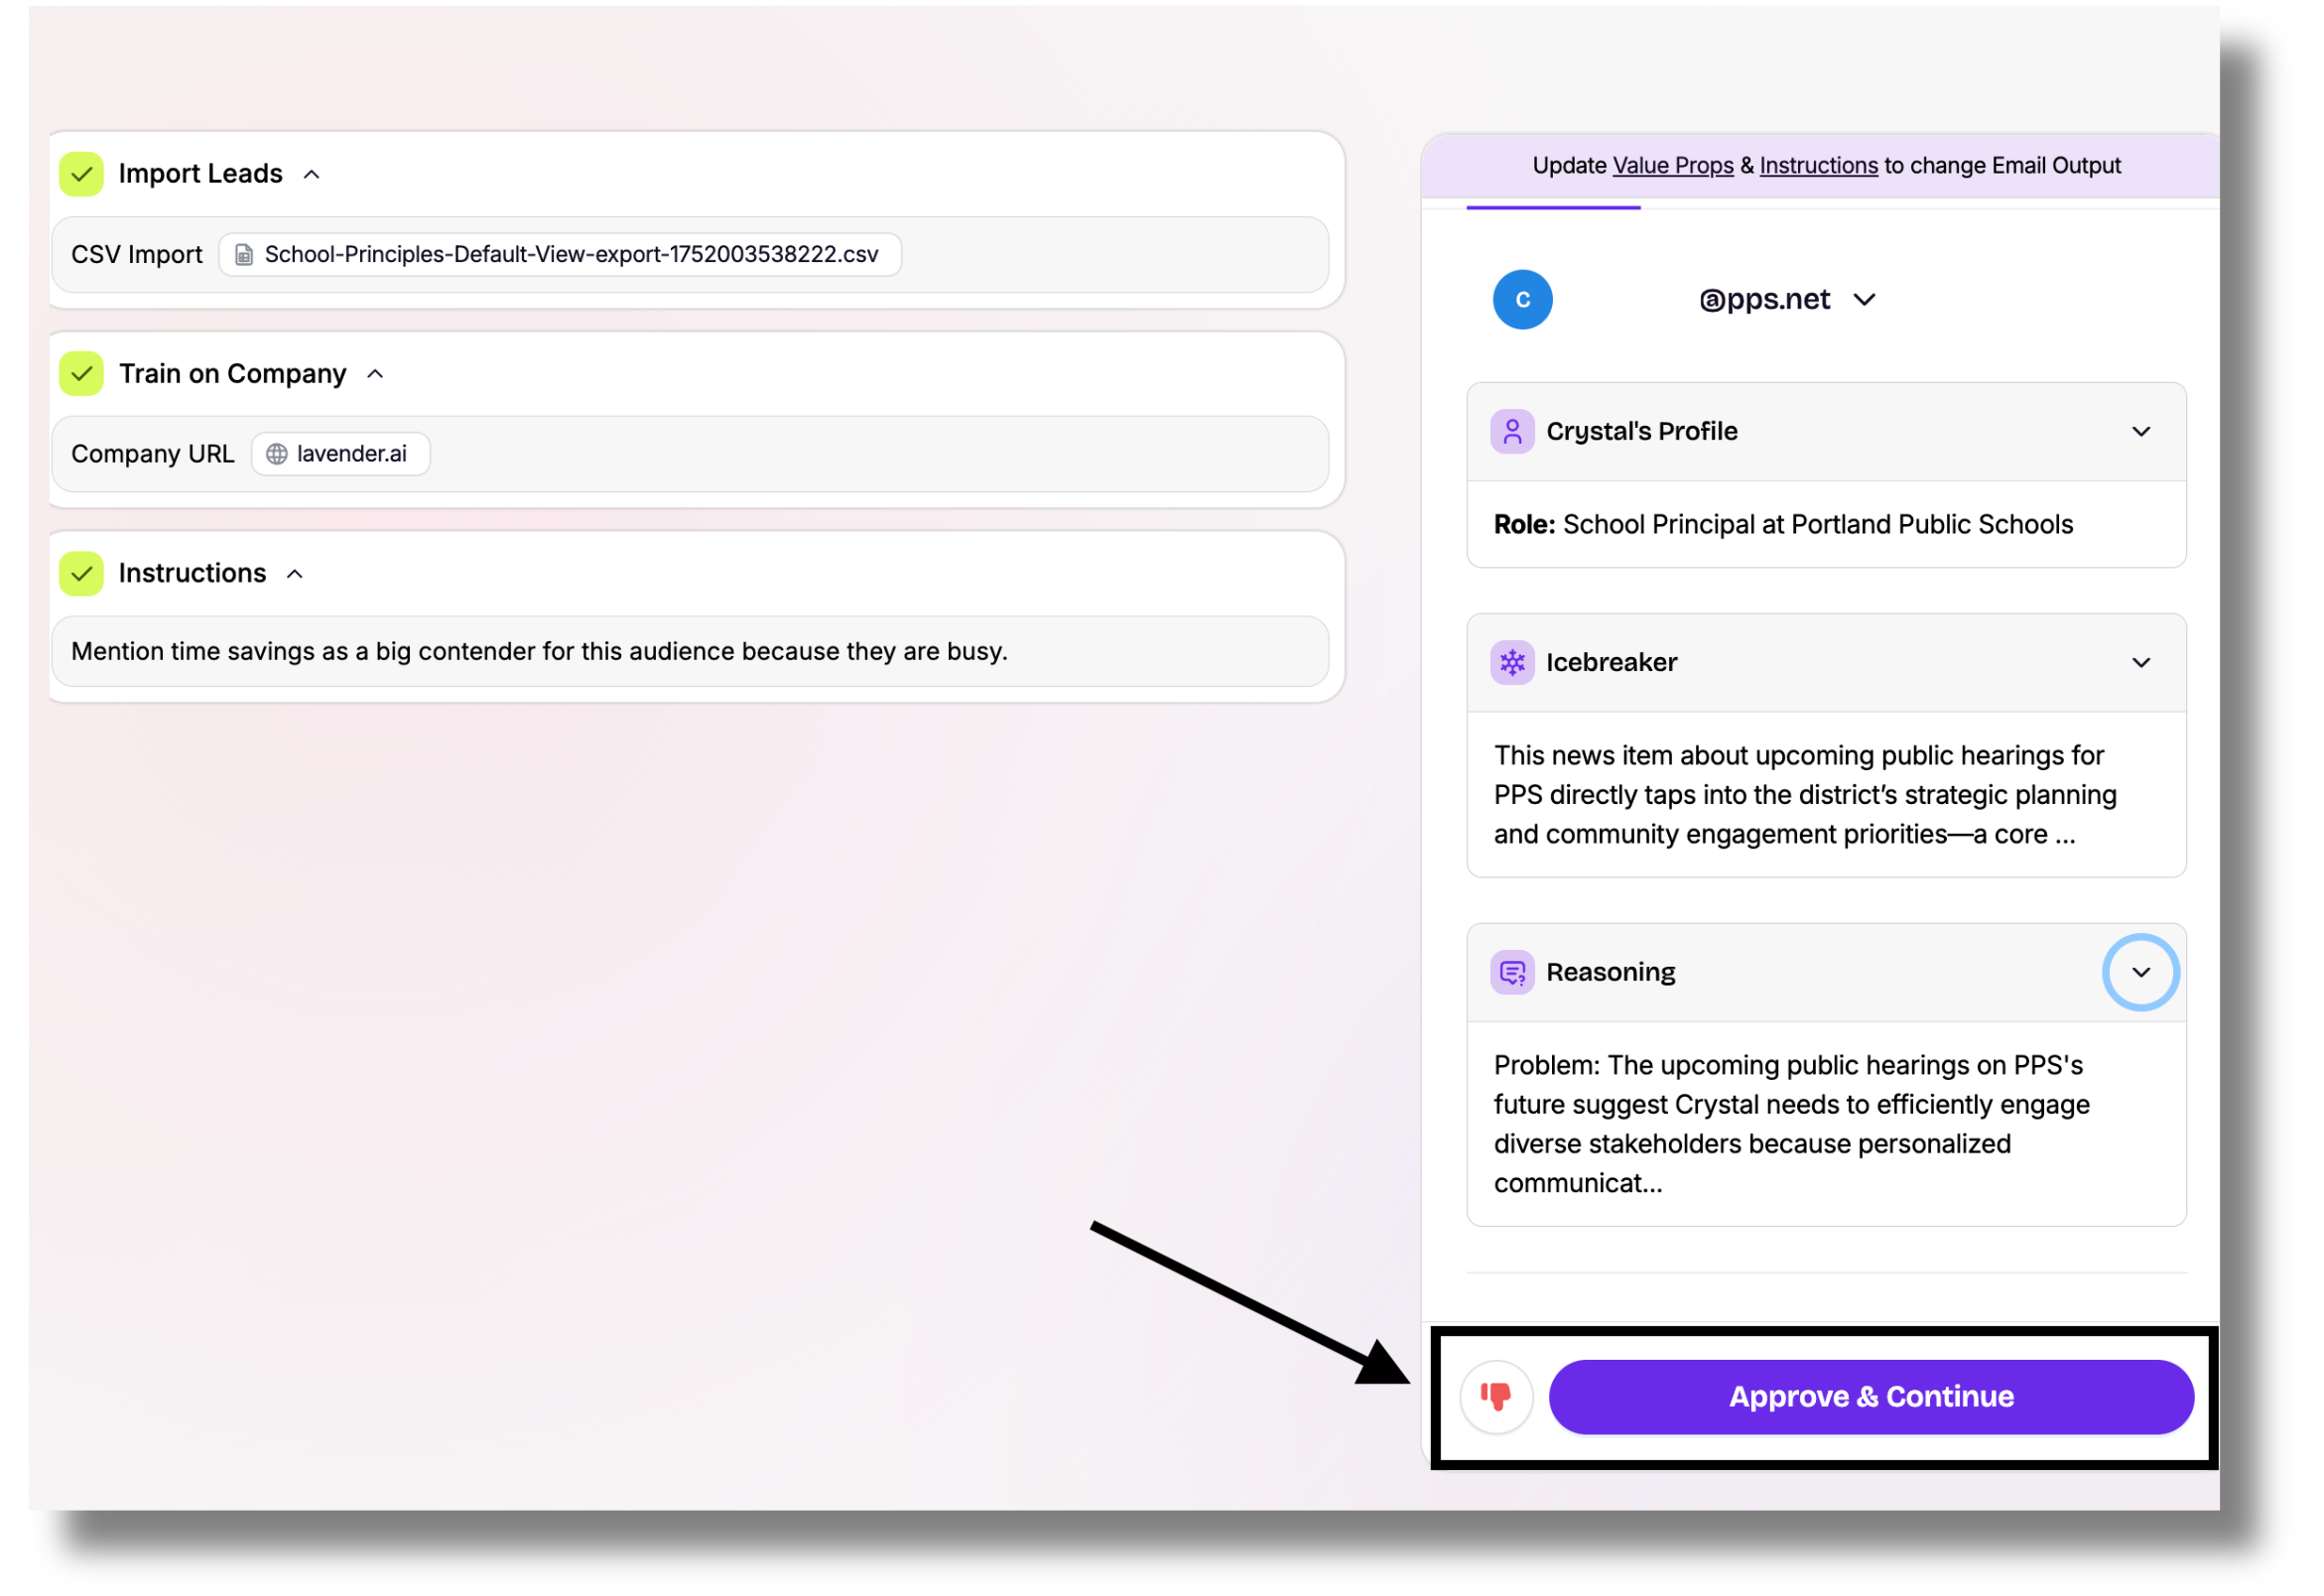
Step 3: Approve or edit messages
- If a message looks good, move to the next one.
- If it needs changes, click the thumbs down icon and select what needs fixing.
- Ora will prompt you to update your value props, instructions, or targeting as needed.

Repeat until all messages are reviewed.
Step 4: Double-check your setup
Before launching:
- Make sure you approve all messages or at least the majority
- Make sure your value props match your target persona
- Make sure your instructions reflect your campaign goal
When everything looks good, click "Approve & Continue"
Step 5: Launch your campaign
Choose your sending mode and sender inbox, then click "Launch Campaign."

Ora will start sending emails at your configured daily volume.
🔗 Learn more about the mode options here.
Note: Ora ramps up sending gradually to protect deliverability, starting at 17 emails/day and scaling up to 50/day.